Friday, December 17, 2010

blog #11

This is the origanl photo that I took on Oct.5th.

   This is the edited photo. I changed this photo to black and white by changing the
saturation. I used the clone stamp tool to take out the date and time in the origanl photo.
I used the clone stamp to also change the middle spot between Mona and me to make it the same blue that the blanket was in the top photo. I like this photo because I didn't really have to do much to change this photo and I can still tell a difference, and you can see that I changed the color of the blanket in the middle of Mona and me.

flyer blog#12

     I open up a blank document and use the paint bucket tool to make the background light blue. With the writting in this flyer I changed the font sizes to 24, 36 and 60. I changed the font style in each one of the quotes in the flyer. I used Old English, Viner Hand ITC, Rosewood STD, and Kristen ITC for the different fonts.
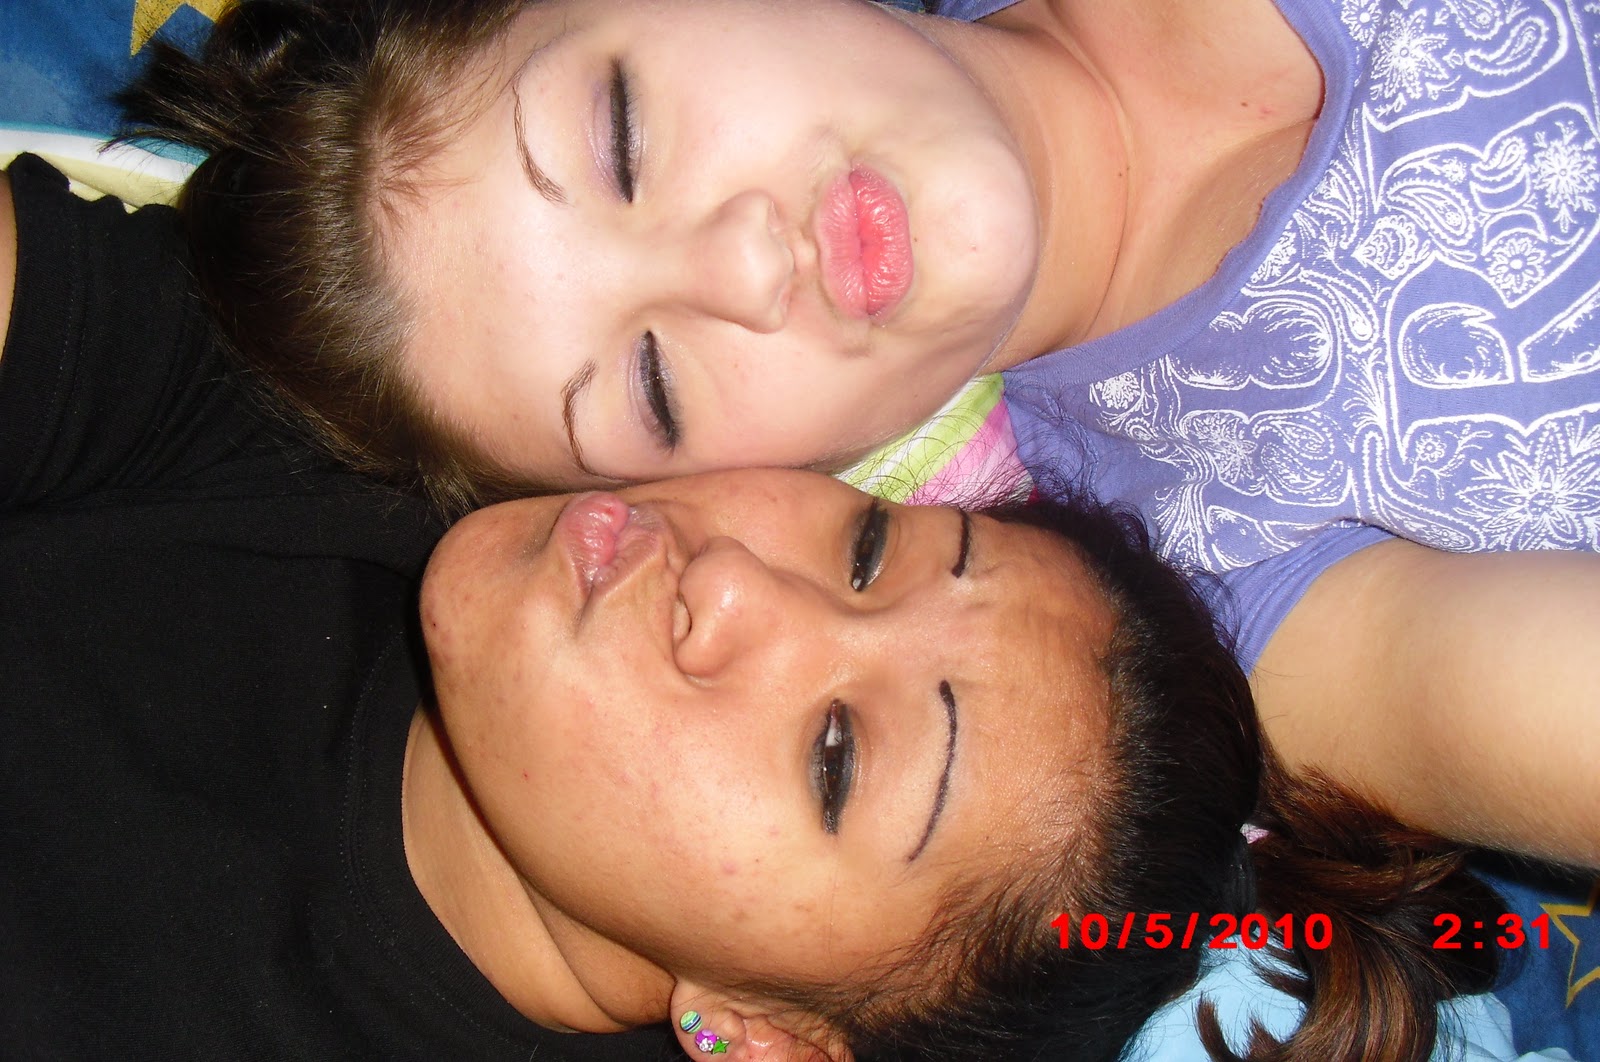
   I sleceted the two photos of Sara and me together and used the slecet pixels tool, so that I could put a border around those two photos. I made the border size 4.  On the shapes in this flyer I used the pixels slecet tool, then I slected the border tool and changed the size to 4. I used the stroke tool to make the quote that's by the picture of me have a dark red stroke around it. On each border I used the drop shade tool. I extracted the pictures of Sara and me alone, and I put a drop shadow around each of us. In the pictures of Sara and me together I changed both pictures to black and white by changing the saturation. In the top picture I used the paint brush tool shape as a butterfly so that it looks like we were blowing kisses of butterflies out. In the bottom black and white picture, I slected the shirt I was wearing and that Sara was wearing by using the magic wand tool. Then I use the eraser tool to bring back the origanl colors of the hat and shirt. I did the same thing in the extracted photo of Sara to bring her hat and gloves back to the original colors. In the extract photo of me I changed the photo to black and white, then slected my skin in the picture to have my skin color back by using the selceting tool and then the eraser tool. All these pictures were taken on Dec. 8th, 2010.

Wednesday, November 24, 2010

architecture

This is the original architecture photo. It was taken sept.28th.
The camera was set on easy mode.

This is the edited photo all I did to edited this picture is use the crop tool and change the levels. I change the levels so the picture would be just a little bit darker not much. I crop this photo to cut out the van and little things the were by it. This photo is a architecture photo because its of a building but its not of a town or a city its fucues on just the store.

Tuesday, November 23, 2010

lines

This photo was taken on sept.28th. The camera was set on easy mode.

I used the crop tool to cut out some of the sides that had little distractions in the back ground. I also used the curves tool to changed the picture a little darker. Thats all I did to edited this photo. This is a line photo because of the fence its straight a cross and thats what this photo is fucused on is the fence and its lines. I like how the fence sticks out more and that there isn't any distractions.

diagonal rule

I took this photo on sept.28th. The camera was set on auto mode. This picture was taken in down town Laporte.


I edited this photo by using the clone stamp to take the garbage out and to clean up the plastic bag. I also used the clone stamp tool to cover up the fence in the back ground. I changed the curves just a little bit to change the lighting darker. This photo fits into the diagonal rule because the fence draws your eye to a different angle on the left. I like this photo because I only used the clone stamp tool and it made a big difference.

Monday, November 22, 2010

clean up

This photo was taking on oct.10th. This is the original photo. My camera was set on auto mode.

I edited this photo by using the crop tool to cut some of the back ground out. I use the brightness/contrast tool in adjustments. I used the clone stamp tool to clean up my brothers tattoo and I used the polygonal lasso tool to blend in some parts of his skin after I cleaned up the tattoo because when I cleaned up the tattoo some of his skin looked a different shade. I used the clone stamp tool to cover up the little white lint spots that were on the black mattress. I like this picture better because all the distractions that where in the background are gone and the picture is not dull anymore and not to bright either. I also like how it looks after I cleaned up his tatoo.

Wednesday, November 17, 2010

land

I took this picture on Oct.28th. The camera was set on auto mode. This is a land photo because there isn't much sky in this picture only a little above the trees.


This is the edited picture. I changed the brightness to 28. I changed the color of the dock to a more lively color so that it wasn't so dull I used the color replacement tool. I took the trash out of the picture by using the clone stamp tool. I like this picture better because how I made the dock look and now you can see where the sun was shining on the dock in the first picture you couldn't really see it.

Tuesday, November 16, 2010

sky

This photo was taken on Oct.28th.2010.
The mode was set on auto. The flash was on.

This is a sky emphasis photo because there is more sky in the picture than land.
I changed the colors in the sky to a darker shade. I went into the adjustments layer went to the brightness/contrast tool. I set the brightness to -31 and the contrast to 100. Thats all I did to change this photo and I think it looks much different and better because the trees were already black so i couldn't really do anything to make them darker or lighter so i think the darker sky looks better with the trees.

Friday, November 5, 2010

black and white photo


This photo I used the adjustment saturation tool. I used the ereaser tool to turn my hat back to the orignal color. I also changed Valynncia's eye color to her orignal color brown using the the ereaser tool. And I changed her eye color by using the color replacement tool. I changed it to a lighter brown and made her puplies to a brighter shinner white. I like this photo the best because it brings alot of attention to Valynncias beautiful face :) and my hat still sticks out I just really like this picture of us and there isn't a bunch of distraction in the background.

This is the orginal photo I took using easy mode. It was taken on sept.23rd 2010.
This is the black and white photo. I used the adjustment saturation tool.

Tuesday, November 2, 2010

color replacement

This picture was taken Sept.23rd.2010.
The mode was set on easy mode. I changed my jacket to lime green with the color replacement tool. I kept valynncia's shirt gray but to a lighter shade of gray. There not much of a difference. I changed the shading on this picture to make it darker. To make it darker I used the curves in adjustments. So the glare from my hand didn't show as much. I like this picture best because I like how it looks with the shading and the glare being gone.


         This picture was taken sept.23rd.2010. This is the original photo. The mode was set on easy mode. The flash was on it made my hand look really white and a glare on my knuckles.

Friday, October 8, 2010

straight vs angle

I took this photo when I was out side walking with the class. The setting was on auto. This  photo was taken on oct.1,2010.

 This is the same mushroom thats in the photo above. The setting was on auto. this photo was taken oct.1.2010.

This is the same photo as above. This photo is the color corrected photo. In photoshop I used the burn tool on the muchroom top to make it so its not as white. I used the multiple masks over my background layers to make the grass more green a dark green. This is what I used curves, brightness/cont. and sturation. I like the changes I made but I wish I could of some how keep the shade behind the mushroom the same shade. When I color corrected it the shading got darker.